My intended raw material was recycled metal cargo strap. However, nylon seems to have replaced it totally. One possibility was cutting long strips from a sheet but I decided it was too much grief, so I had to put my hand in my pocket and buy a strip of metal. Unfortunately all I could get was aluminium. Now, someone is going to mutter how this is lightweight (well, it is) and not suitable for a "true" warrior. Anyone who subscribes to this view can be disabused of it rapidly by having the "Long" measuring stick jammed smartly up their nose, followed by twisting it round and round a few times. Aluminium or not, it'll bring tears to their eyes, guaranteed. Even Ragnar from the rulebooks could be brought round this way!
I formed the finished sticks by carefully cutting to length, then marked out a mitre on each corner. About five seconds on the bench grinder mitres everything beautifully. All the edges were thoroughly de-burred at this stage, because even real warriors find great lumps of razor-sharp swarf in their fingers detracts from their enjoyment of the game!

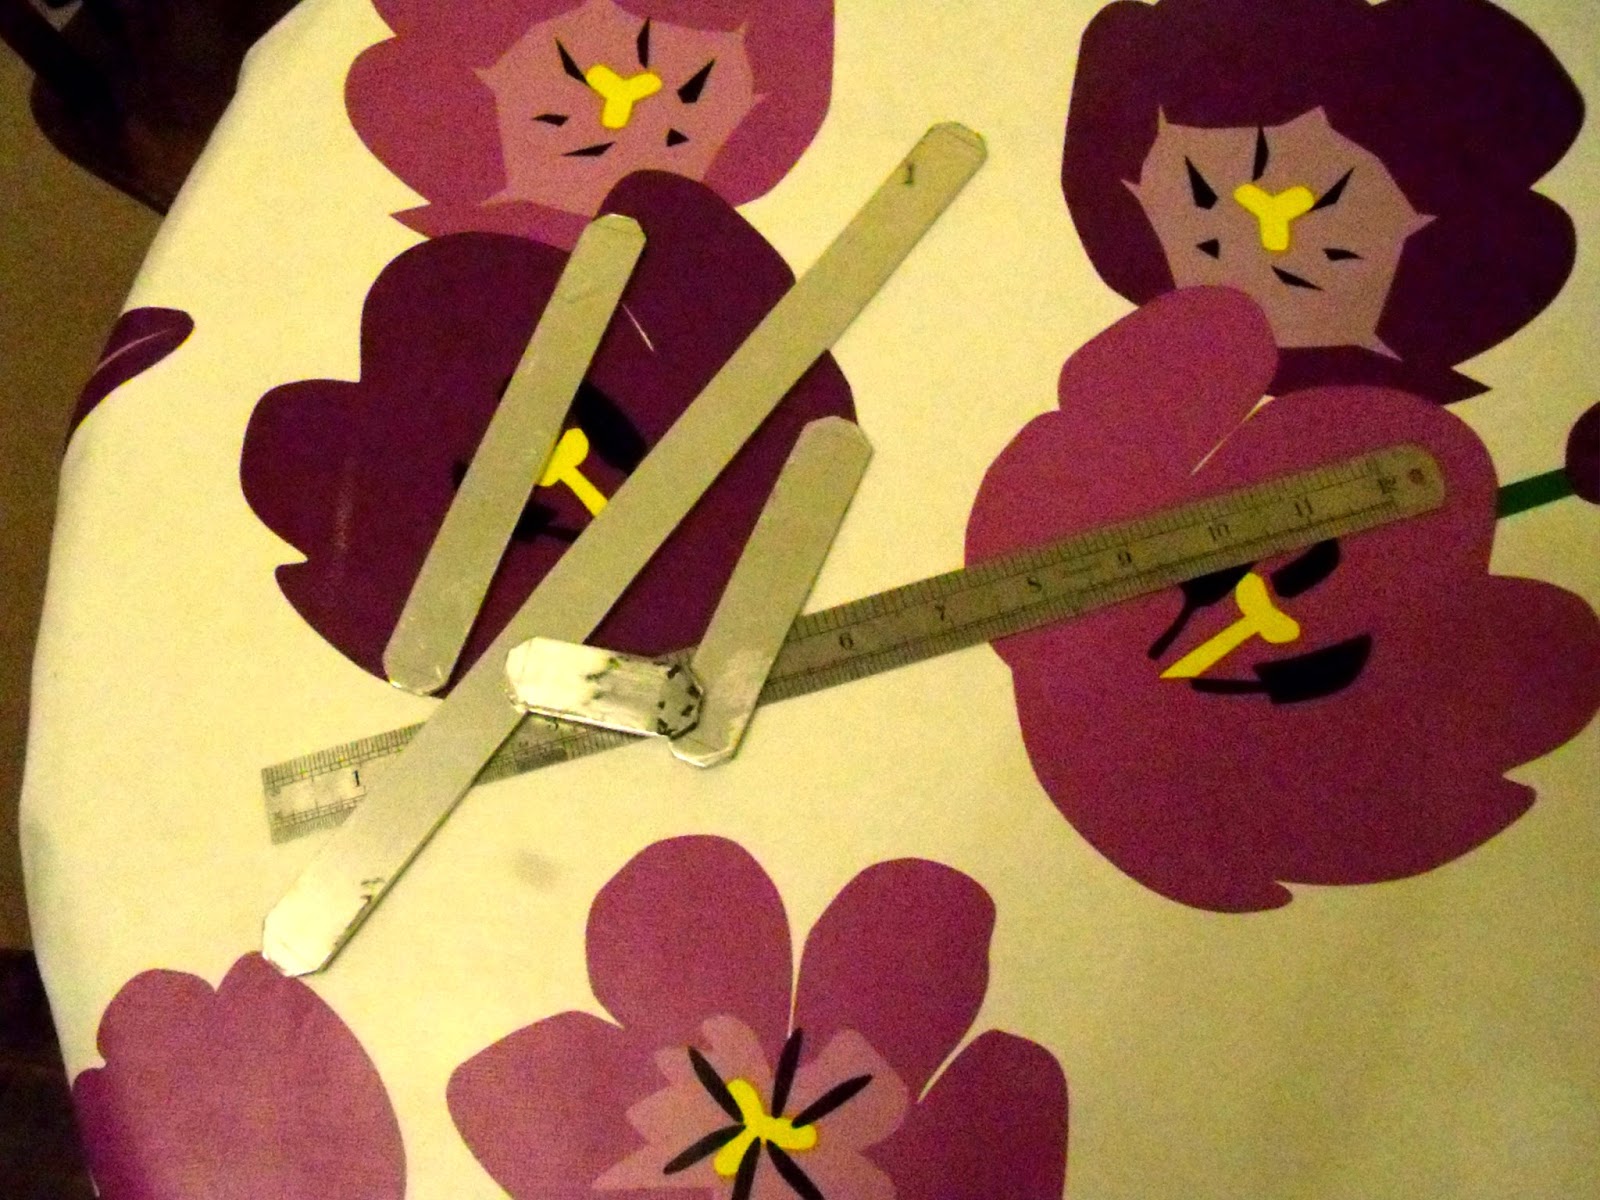
Still haven't tidied up much!

Pondering what to do next
The results at this stage look far from promising: grotty, grubby loooking bits of metal with no appeal. I decided on a Viking raven design, but struggled with transferring it onto the metal to scribe it in. Carbon paper didn't work and the design was too small to use a pounce wheel. I decided I had to print off the design in decal form, then engrave.
Yuck!
At this point I started adding the decals, ready to engrave the designs, but as soon as I put one on, I had a sudden change of heart. The decals really popped against the metal, so I quickly printed off another one, and decided it was time for a little bit of magic: the buffing wheel on the bench grinder!

Filthy job!
Once the pieces were buffed on a cotton wheel, first with grey soap to take off the worst of the gnarls, then finished with pink soap, I added the decals, followed by two coats of laquer to prevent tarnish and fingermarks. This is what you get. Job done!

Shiny!
All ready to use now. Merry meet again!
Very very nice indeed!
ReplyDeleteThey really are great! Ragnar will be proud of you.
ReplyDelete