Here are the basic materials: a metal biscuit tin, scavenged from my office, a sheet of 2mm MDF (A4 size), impact adhesive and painter's caulk.

Everything you need!
First, cut the rim off the biscuit tin lid - carefully, there's almost nothing like sheet metalwork for lacerating your fingers! This gives you a very rough sheet of very thin steel.

Mind your fingers!
Glue this to the MDF with a good thick layer of impact adhesive. Now leave it to dry completely before proceeding further. A wallpaper seam roller gives good service ensuring everything is properly stuck down. I glued it down with the painted side up. Later coats of paint should be able to bond to this.

The basic material
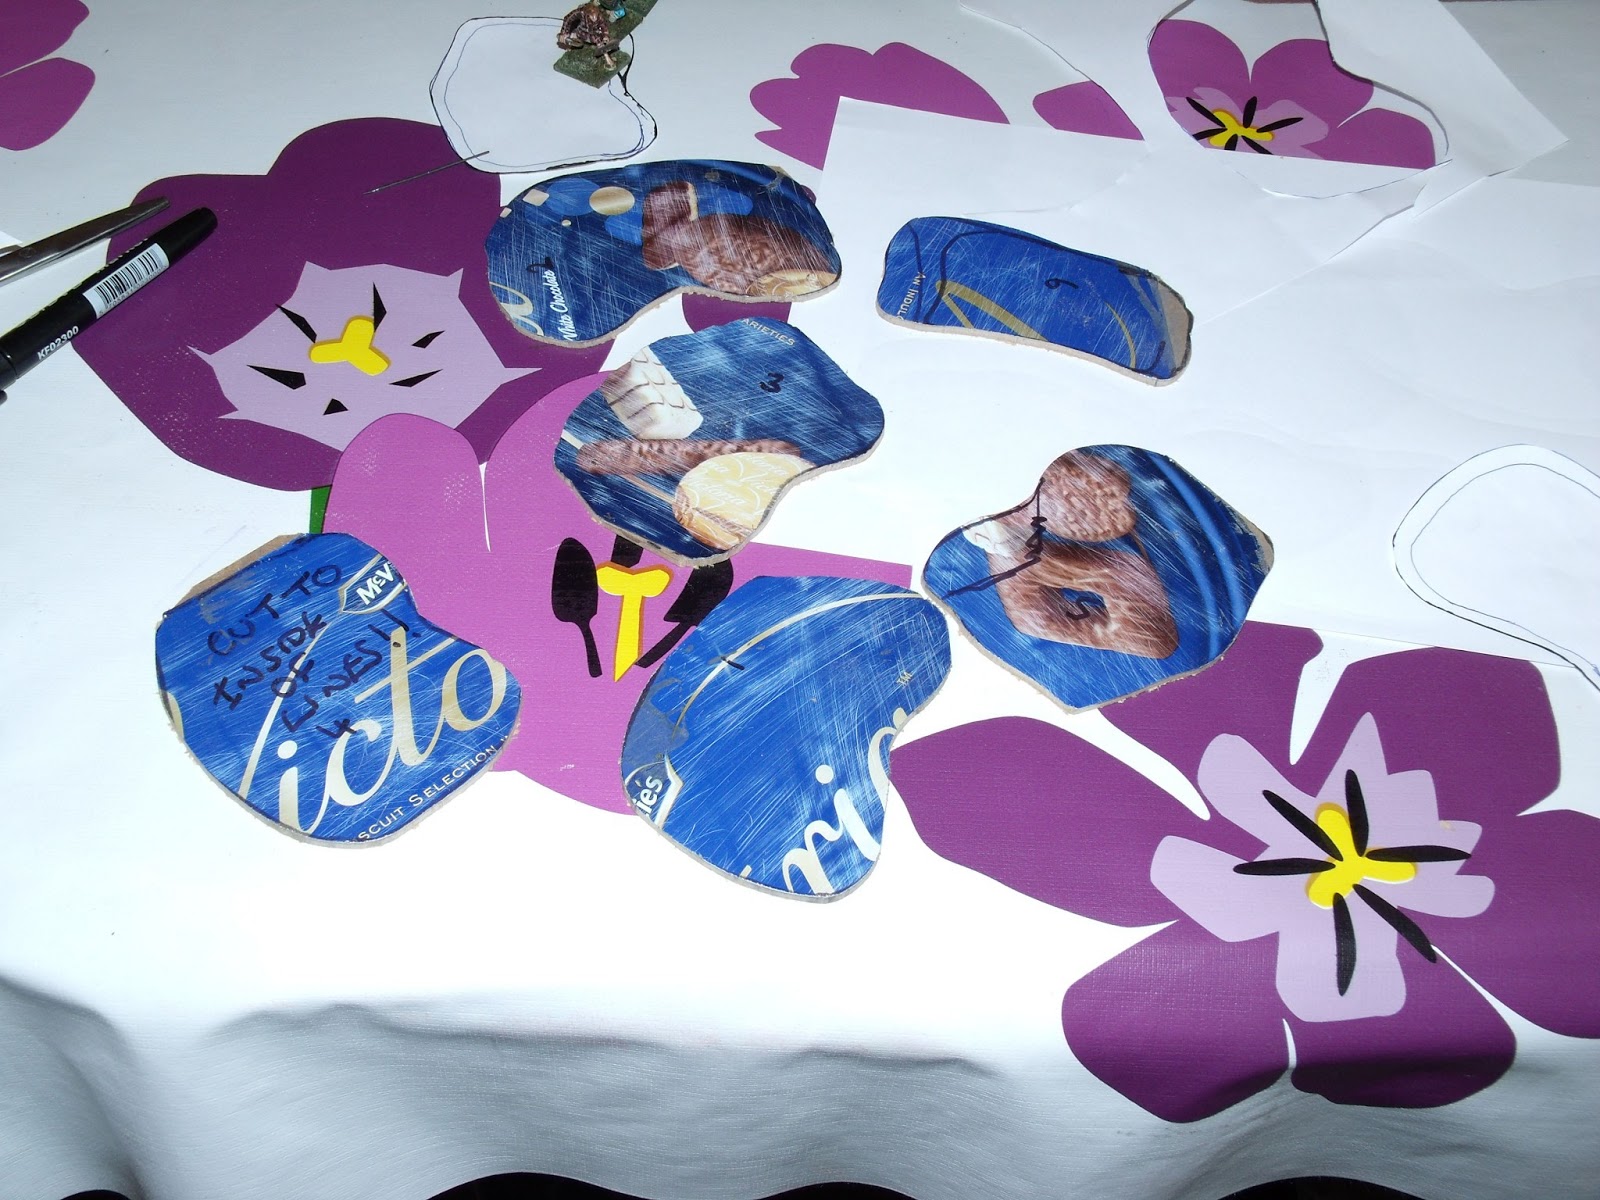
Once it's dry, key the metal surface slightly with emery or wet and dry. Then mark out your movement trays with a suitable marker pen. I've gone for sections roughly 85x60mm, with slightly curved, but parallel, sides. This will allow me to place figures three wide and two deep, but with a slightly random arrangement. Before I did any marking out and cutting I spent an evening playing around with cardboard templates until I was happy I would get what I wanted, and then a good long time working out how to cut out what I wanted so as to leave the minimum waste. Just because it's cheap doesn't mean you should waste it! I managed to get five pieces that size out of the sheet, plus a single piece that will take four figures abreast.

Laid out and ready to go
I cut the trays out using a scroll saw. Make sure the blade is set so the teeth point DOWNWARDS! You could use a manual fretsaw, but obviously it will take a lot longer. Twenty minutes (and only one blade!) later I had a pile of six pieces cut out. The edges aren't too bad, and everything stayed glued together through the cutting process. Clean the swarf away with emery cloth.
Tray-shaped pieces, ready for the next stage
Add a bead of painter's caulk to the edge of the tray. This will cover the rough metal edge, the metal to MDF join, act as a surface for adding basework, and stop the figures sliding off. What more could you ask? Use a wet finger to move the caulk into place and shape it once you've squeezed it on with a skeleton gun.
One thing to take note of. Make sure you use acrylic painter's caulk and NOT silicone sealant. The latter is more or less impossible to paint. Ask me how I know...


Spray varnished
One interesting and totally unwelcome fact: when I varnished the trays, suddenly the marker pen re-appeared through the layers of paint! These had got a coat of black car spray and about five or six different coats of stippled and drybrushed acrylics and emulsions, and there was no sign of the marker pen. A quick coat of Pledge floor wax and it stands out like a bucket on a billiard table (as my old man used to say).

Finished at last!
A few quick dashes of acrylic remedies this. Job's a good un! Here they are with Arthur's companions, some Saxon warriors and Pictish armoured spearmen to show how they work.

Three-way knock-down drag-out fight? I'm in!
Total cost for the six trays? Well, you'd struggle to stretch it to £1.50 for the whole set. Cheap even at my prices!
Merry Meet Again!
Very cool, and cheap! What's there not to like?!
ReplyDeleteVery effective. I will have to give these a go.
ReplyDeleteVery nice. Now I know what to do with all those tin boxes I have been keeping "just in case they come in handy".
ReplyDeleteCool idea, has value.
ReplyDelete